[cmsmasters_row data_width=”boxed” data_padding_left=”3″ data_padding_right=”3″ data_top_style=”default” data_bot_style=”default” data_color=”default” data_bg_position=”top center” data_bg_repeat=”no-repeat” data_bg_attachment=”scroll” data_bg_size=”cover” data_bg_parallax_ratio=”0.5″ data_padding_top=”0″ data_padding_bottom=”50″][cmsmasters_column data_width=”1/1″][cmsmasters_text animation_delay=”0″]
I’ve always loved croutons (and bread products in general). I can vividly remember back to when I was little, hiding under my Nonna’s dining room table simply chowing down on a bowl of homemade croutons that was meant for everyone (oops). They were crispy (almost burnt; my family lives by the term “well done”), oily, crunchy enough to break my young teeth, and SO GARLICKY. I actually used to call them ‘garlic squares.’
I yearn for garlic squares often, but I don’t keep Italian bread in the house because I can’t be trusted. Recently, during this quarantine, I was reminiscing about meals at my favorite restaurant. When you sit down, they give you a warm little bowl of roasted and seasoned chickpeas that are so out-of-this-world that I could basically leave after that because the meal is already a win. I’ve been eating so much salad and then it dawned on me – top your salad with the chickpea crunchies!
But, bummer – I had no chickpeas. Everyone, please welcome white bean croutons!
What you’ll need:
- 1 can white beans (I usually do cannellini beans)
- Extra virgin olive oil
- Dried thyme, garlic powder, salt and pepper
Step 1: drain and rinse beans

(First- preheat oven to 425°F.) These beans from Wegman’s have 350 mg of sodium per serving, which isn’t the end of the world but I do suggest rinsing them in a mesh sieve to reduce sodium and eliminate the packing liquid.
Step 2: dry beans
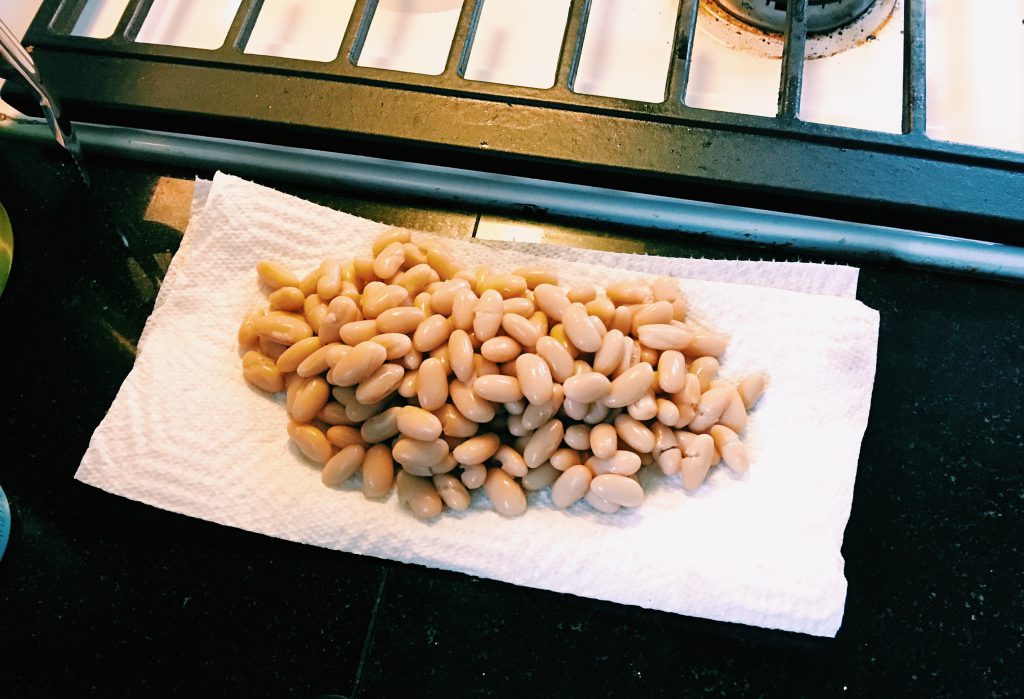
A paper towel works fine for this, but you could use a kitchen/dish towel. I’ve used both and have experienced no difference in outcome!
Step 3: spread and season beans on baking sheet
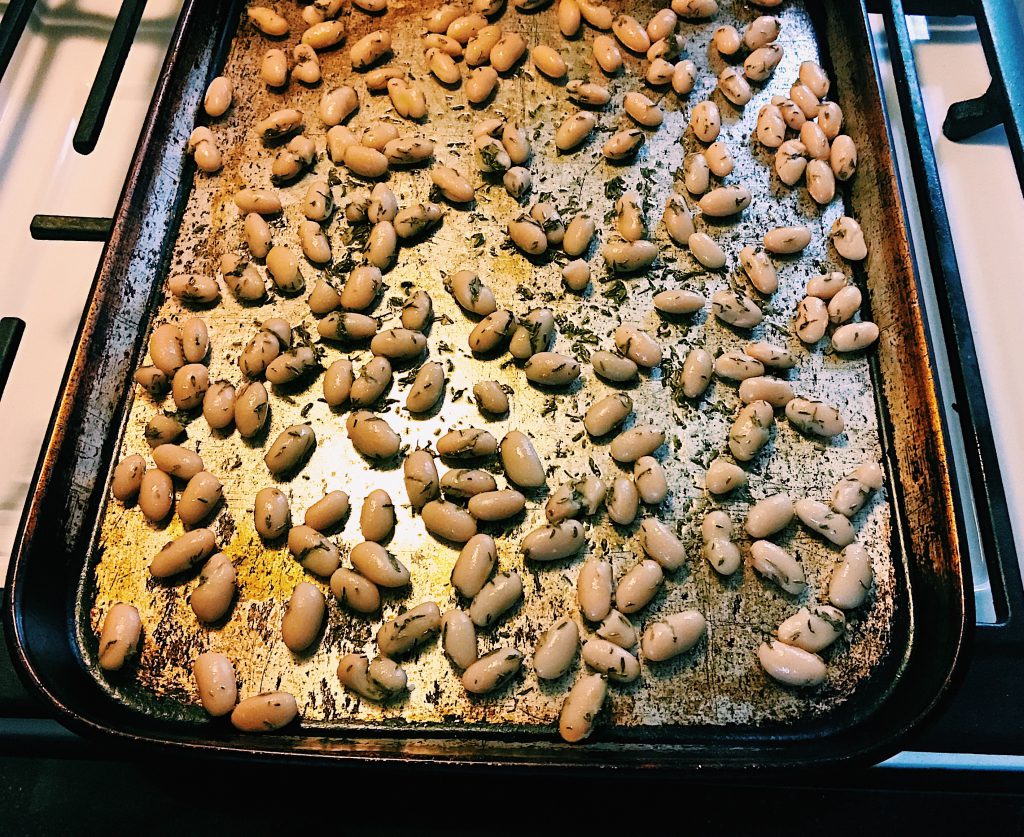
After they’re dried, group them together in a pre-cook huddle in the middle of the baking sheet. Drizzle extra virgin olive oil over all the beans, and mix with your hands until all the beans are coated. I usually don’t roast in olive oil because it’s expensive and has a low smoke point, but I do with these to add flavor and maximize crisp. After the beans are coated, sprinkle salt and pepper (1/4 teaspoon each), thyme (1/2-1 teaspoon), and garlic powder (1/2-1 teaspoon). I think what makes these great is the spices, so I add 1 tsp each thyme and garlic powder. Spread them out on the baking sheet so none are clumped together.
Step 4: roast beans
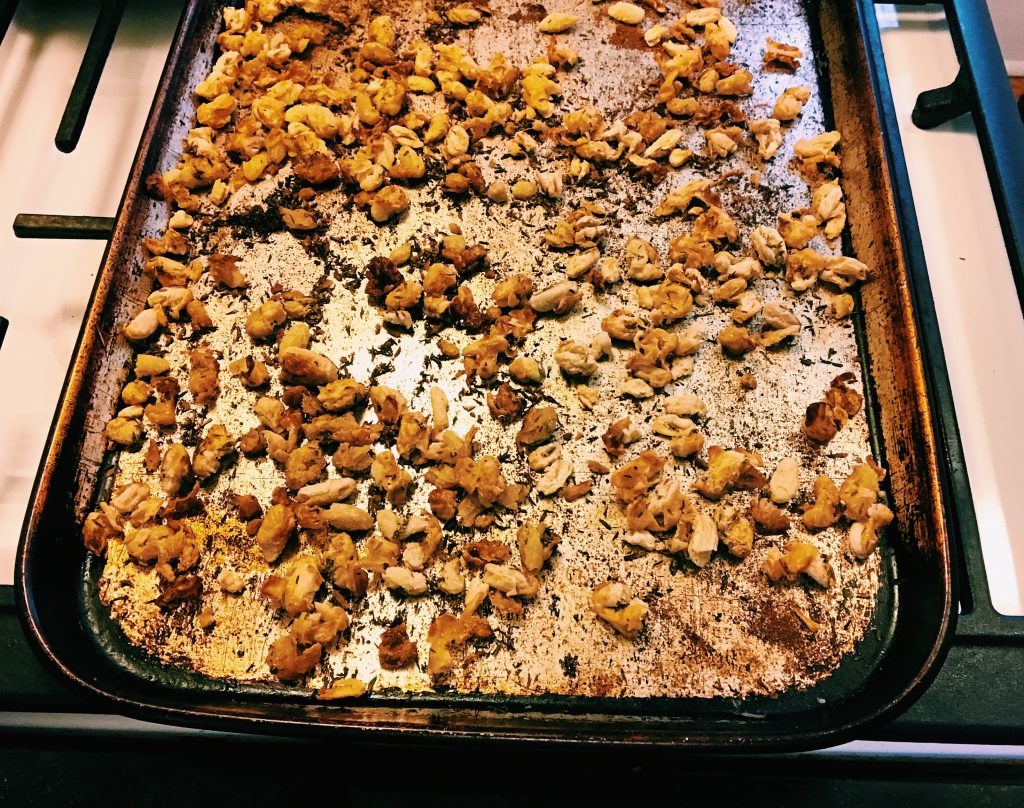
Place the beans in the oven for 15 minutes and don’t touch them! The first time I did this, I heard them snapping and popping and I thought I’d open the oven to a mess, but nah. After 15 minutes, take them out and move them around with a spatula. Some beans may look dry and not crispy- just move them around! Put back in the oven for 10-15 minutes until you’ve reached desired crispy-crunchiness.
Step 5: enjoy beans

Like I said, I love adding these to top salad and satisfy my craving for croutons. You could just eat them as a snack if you wanted! Not saying I don’t do that with the leftovers. They’ll keep at room temperature in a sealed container for 1-3 days!
[/cmsmasters_text][/cmsmasters_column][/cmsmasters_row]